|
| Mt. Manalmon and the adjacent Mt. Gola, separated by Madlum River. |
Mt. Manalmon is one the mountains which is marked as one of the historical places in the country. It is located on Sitio
Madlum, in San Miguel, Bulacan. According to the locals, it is the place where
Japanese guerrillas hide during the world war. Many soldiers were captured and
killed on this mountain, wherein some seeks refuge on Madlum Cave and Bayukbok
cave. This is also where the Malolos Constitution was signed, and where the Republic of
Biak-na-Bato was established under General Emilio Aguinaldo, along with the
other revolutionaries. They took refuge on its caves, and even made it their
headquarters in 1897.
This is a best place to go if you’re
looking for an adventure location located two hours away from Manila. It will
not only offer you a good view, varieties of activities, and relaxing
environment: it will also give you a throwback on our history.
 |
| Main tricycle drop-off. |
 |
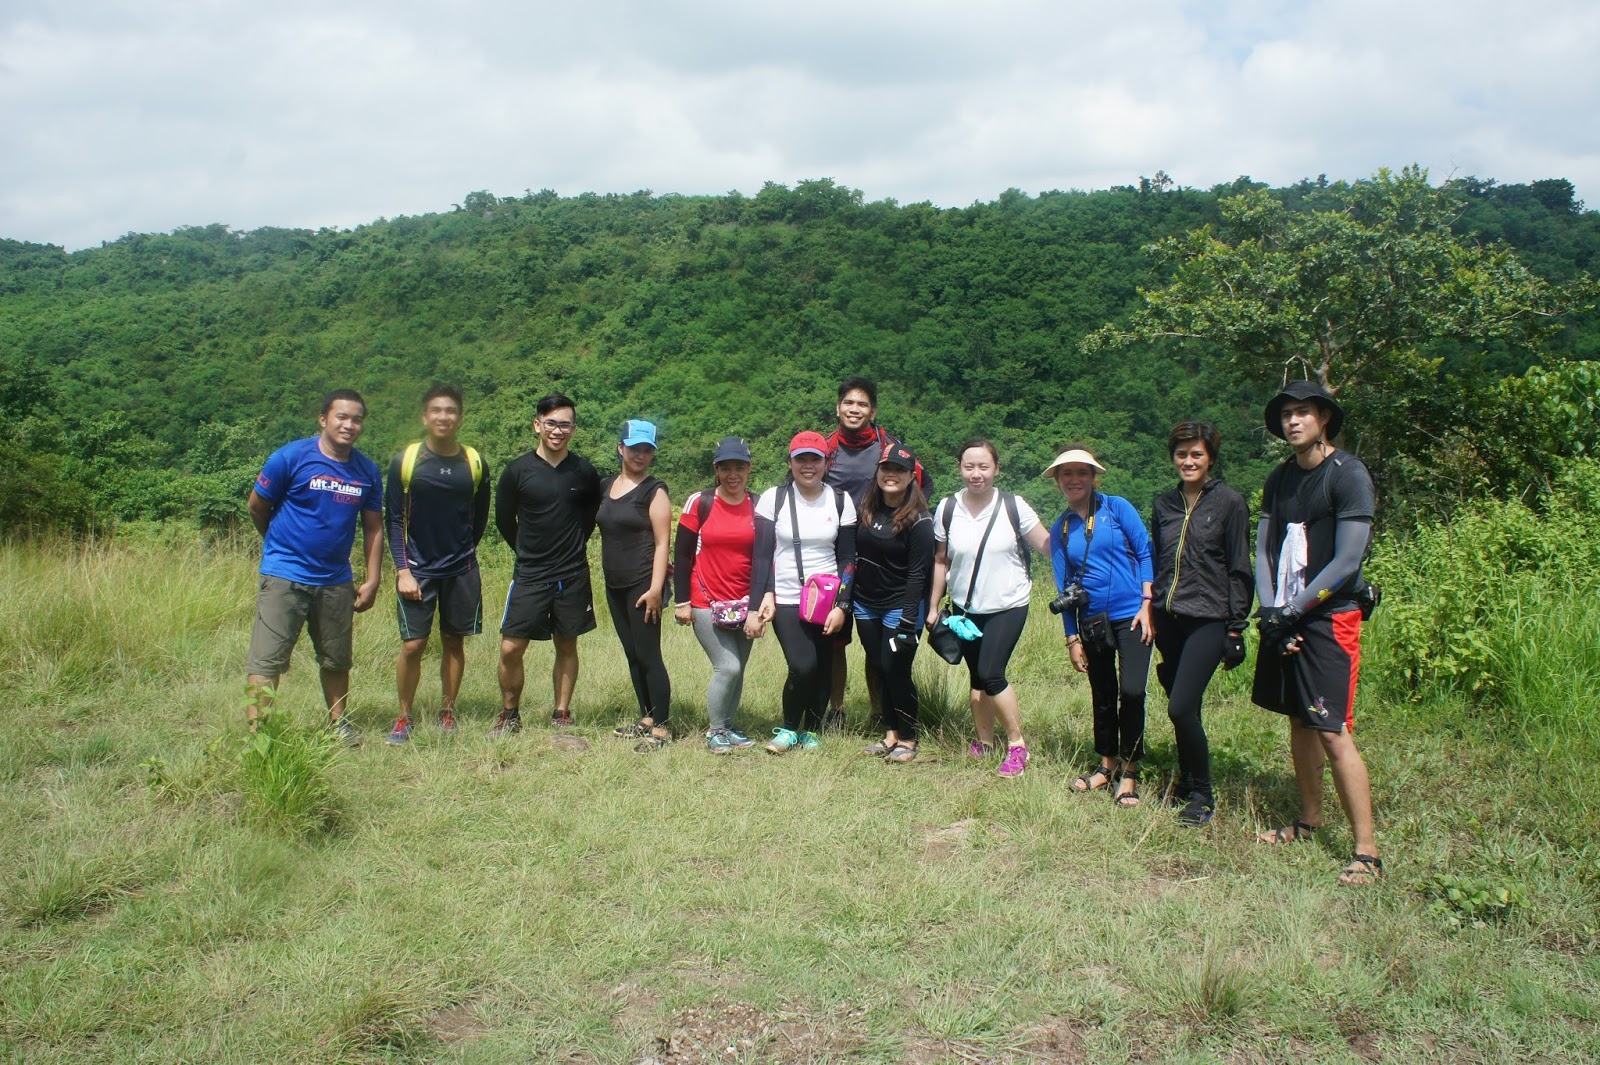
| Meet the Manalmon Team: Karen, Tita Marie, Ate Fran, Kate, Lia, Jonel, Lyke, Roni, Walter, Jhong and Charmie, |
 |
| The Main Rules and Regulations of Sitio Madlum, as well as the corresponding parking fees. |
If you’re planning to commute on your
way to Manalmon, the easiest option is to ride a bus going to Cabanatuan from
Cubao. There are bus terminals where you can board, the nearest one from Cubao
is the Baliwag Terminal. From there, tell the conductor to drop you at Brgy.
Kamias, San Miguel Bulacan. It will took you at least 2 hours to get to Kamias.
Take a tricycle going to Sitio Madlum, the main jump-off.
 |
| The Hanging Bridge crossing Madlum river. |
 |
| Some bridges will lead you to the very wonders of nature. |
 |
| The team is enjoying crossing the bridge. |
 |
| The monkey bridge which is a must-try in Sitio Madlum. (This is for free) |
You have to walk and cross the
hanging bridge on your way to registration area. You can see the monkey-bridge
in a distance, which is something worth trying on your stay on Sitio Madlum. By
the way, Sitio Madlum have new policies prior to climbing Mt. Manalmon. You
have to secure first a permit from San Miguel Municipal Hall at least five days
before your climb, however you can sign a waiver if you’re a walk-in visitor
(as they describe it).
 |
| Experience the fun in MADLUM! :) |
 |
| The NOPES in Sitio Madlum. |
 |
| Please make sure that you have secured a permit from San Miguel Municipal Hall at least a week prior to your climb. |
 |
| The Team gearing up for the trip. |
 |
| Another view of the hanging bridge. |
This is also the mountain with
cheapest registration compared to other mountains I had been so far, which only
costs Php 5.00 per person. Getting a guide is necessary, which costs Php 300.00
for every ten persons. On my group since we are twelve (12), we are required for
two (2) guides. However, if spelunking is part of your itinerary, you have to
pay additional Php 40.00 per person per cave. In our case, since we also went
to Madlum Cave and Bayukbok cave, each of us paid additional Php 80.00.
Mt. Manalmon is an easy trek
especially for beginners. The trail towards the summit is almost flat, with
moderate slope along the way. You must be careful especially during rainy
season because the trail is quite slippery. It will only took you two hours to
get to summit.
|
| Another view of the monkey bridge. |
 |
| Meet our cool guides: Kuya Michael and Kuya Winter. |
 |
| Photo ops while crossing the hanging bridge. |
 |
| The start of the trail is quite easy, solid pathwalks have been provided. |
 |
| Rock formations along the trail, which is also a part of the series of caves along Madlum. |
 |
| Jhong, Walter and Lyke. |
 |
| This month marks the 1st death anniversary of the BSU students who got drowned at Madlum River. Some mountaineers offered candles, flowers and prayers to the deceased. |
From the summit, the amazing view will
welcome you. You can see the surrounding mountains which is part of the Sierra
Madre. You can even sneak a peek to Mt. Arayat. Mt. Manalmon is also adjacent
to Mt. Gola, which is separated by the Madlum River. You can take a rest at
Madlum River if you’re planning to hike Mt. Gola. The view reminds me of Mt.
Daraitan’s Tinipak River, because of the large boulders. It is also almost
similar to the Twin Mountains Mt. Pamitinan and Mt. Binacayan of Montalban,
Rizal.
 |
| The trail almost similar to the trail of Mt. Maranat. |
 |
| Jonel, Jhong and Lyke taking the lead. |
 |
| Get your shoes and sandals get wet crossing this river. |
 |
| Team Vista: Tita Marie, Kate, Lia and Ate Fran. |
 |
| The Team enjoying the view. |
 |
| Jhong and Walter doing some photoshoots. |
 |
| Can you see the Madlum River? |
 |
| Me enjoying the view. |
 |
| Lia is enjoying her first summit at Mt. Manalmon. |
 |
| That mountain is part of the Sierra Madre range. |
 |
| From the left: Karen, Jhong, Walter, Jonel, Lyke, Charmie, Lia, Roni, Ate Fran, Kate, Tita Marie. |
 |
| Pasexy pose. |
 |
| Chatting with the cool guides. |
 |
| Scenic landscape in the background. |
 |
| There are varieties of Flora and Fauna along the trail. |
 |
| Another flower offering to commemorate the 1st death anniversary of the BSU students. |
 |
| What fruit is this? |
This is also the spot where seven (7)
students from Bulacan State University drowned last year. They’re crossing the
Madlum River when the water rose unexpectedly due to bad weather on nearby
mountains. This month marked their 1st death anniversary. Other
mountaineers even offered flowers and candles to commemorate the tragedy.
 |
| The summit of Mt. Manalmon with Madlum River in the background. |
 |
| Another summit conquered. And it feels so great. |
 |
| Time to regenerate my inner chakra. Kamui! (Have you seen the black orb?) |
 |
| Roni enjoying the summit. |
 |
| Our mother and daughter duo: Kate and Tita Marie. |
 |
| Madlum River. |
 |
| Madlum River on a different angle. |
 |
| Charmie and Karen. |
 |
| The Leasing duo: Lia and Ate Fran. |
 |
| Other mountaineer groups doing a tree-planting at Manalmon. |
 |
| Plant a tree and save a life. |
 |
| Madlum River separating Mt. Gola and Mt. Manalmon. |
 |
| Our girls enjoying the hot weather. |
 |
| Jonel and Walter. |
 |
| Jonel taking a pose at Madlum River. |
 |
| Another majestic river explored: MADLUM RIVER. |
 |
| Trail on the way to Madlum Cave. |
 |
| Meet the Manalmon girls:Charmie, Roni, Lia, Ate Fran, Tita Marie, Kate and Karen. |
 |
| Be careful on what you cling to. |
 |
| River crossing at Madlum River. |
THE MADLUM CAVE
Madlum Cave
(also known as Manalmon Cave) is one of the historical caves of Sitio Madlum.
It’s only 10 minutes away from the jump-off, and you can either start or finish
your trek here towards and from Mt. Manalmon. It is historical because it is
one of the caves where the Japanese guerrillas, as well as revolutionaries took
their refuge during World War. One of the main attraction on this cave are the
bats residing inside so it’s better if you have a flashlight/headlamp. You can
also rent from the guides at Php 30.00 per headlamp.
 |
| Do not vandalize the caves. Respect this sacred place. |
 |
| Entrance from the other side of Madlum Cave. |
 |
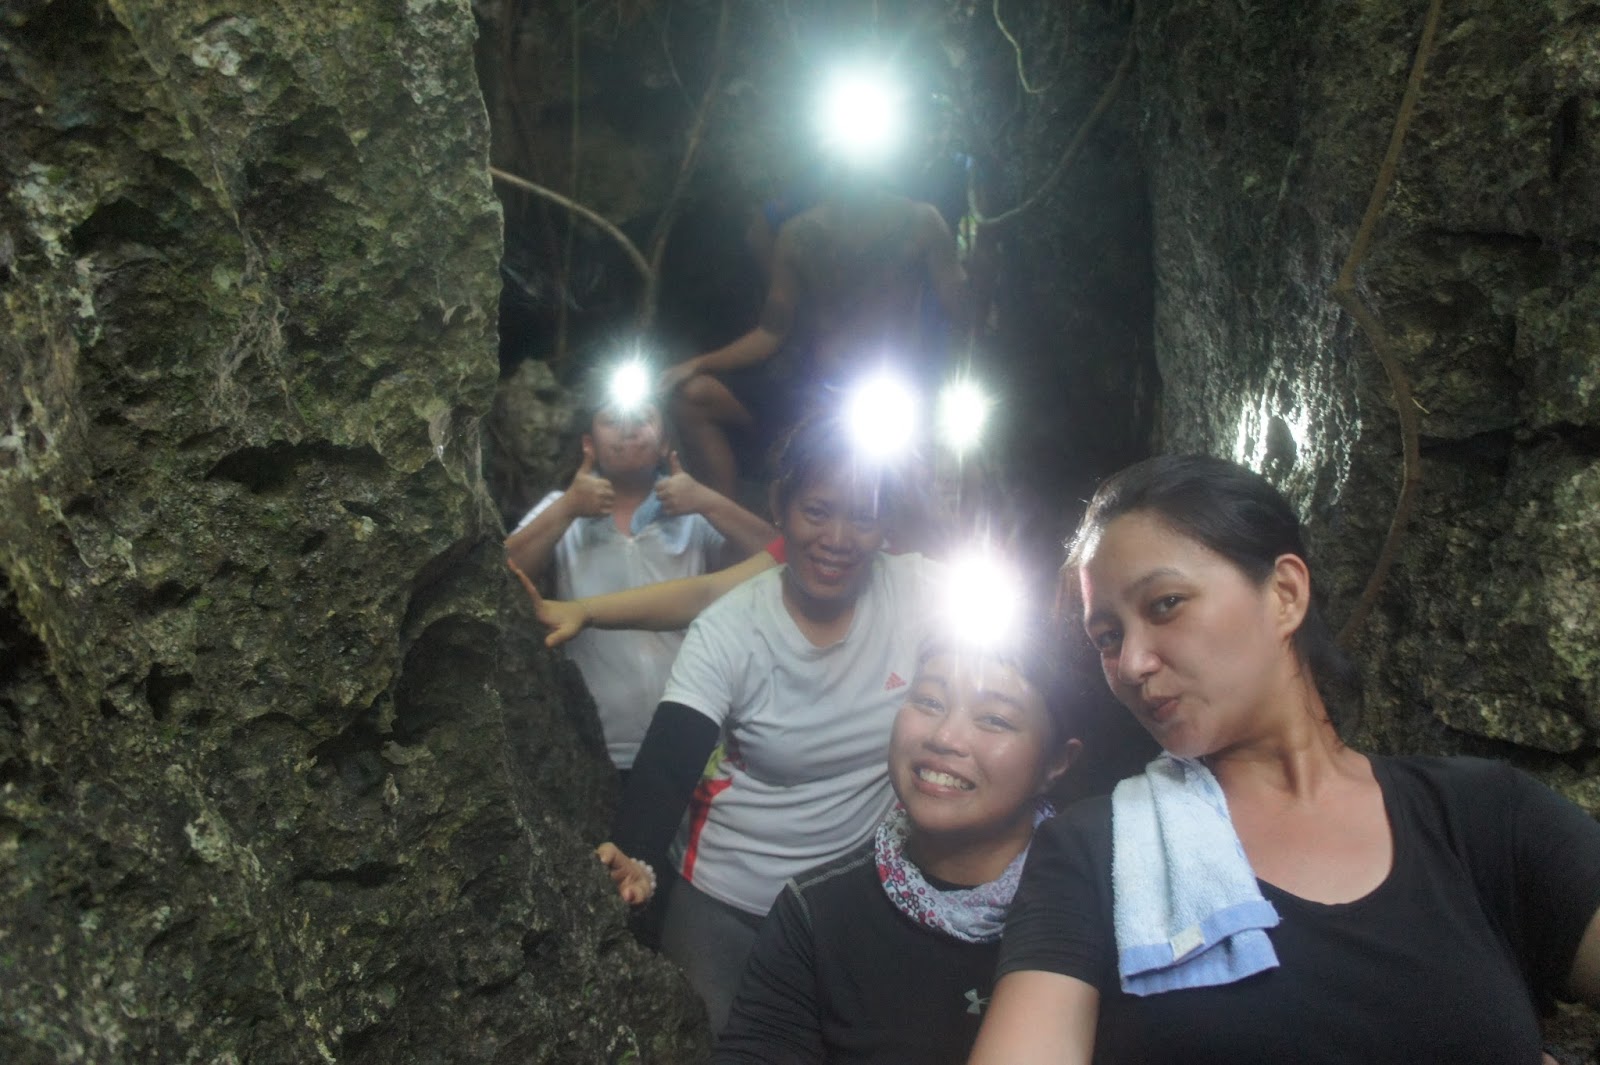
| Our first spelunking adventure. |
 |
| Gearing up before starting the spelunking adventure. |
 |
| Some informations regarding the caves and the mountains. |
 |
| Stations of the cross. |
 |
| Small chapel at Sitio Madlum. |
 |
| The "ALL-SEEING EYE". |
It is the
place where the town’s patron saint, St. Michael was found. The relic is still
inside the cave, which makes it more historical. This is also one of the
shooting locations of “Mulawin”, a popular TV series back then. You can see the
formations of stalactites and stalagmites, and if you’re lucky enough to have a
good guide as Kuya Winter and Kuya Michael, they will tell you how these caves
were formed, will let you experience the “Defeaning Silence” and will make you
sing the ritual songs for their ancestors residing on this cave.
 |
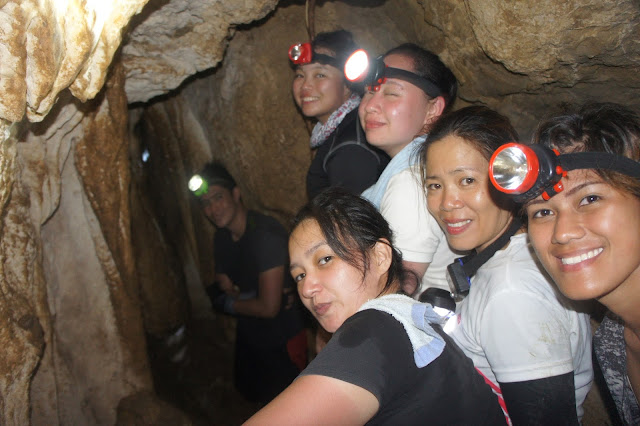
| Exploring inside the Madlum Cave. |
 |
| Kuya Michael educating us about the stalagmites and the stalactites. |
 |
| After singing the ritual song. |
THE
BAYUKBOK CAVE
The Bayukbok Cave is one of the main
attraction at Madlum. Compared to Madlum Cave, it is very different because an
ultimate adventure awaits you. It will took you two (2) hours exploring the
cave. You have to go through an uphill trail towards the cave, which will took
30 minutes from the registration area. You must be careful since you will climb
a series of sharp rocks, and can be slippery especially during the rainy
season.
 |
| The entrance to Bayukbok cave is located on the other side of Madlum River. You can cross the Hanging bridge, or you can try crossing via Monkey bridge for an all-in experience. |
 |
| We decided to cross thru the hanging bridge. |
 |
| The team is ready for the final adventure. |
 |
| Heading up towards the main entrance. |
 |
| What a wonderful view. |
According
to our guides, Bayukbok cave have eight (8) chambers. The first six (6)
chambers are inter-connected to each other while the other two (2) chambers are
separated. This journey inside the cave is an ultimate spelunking experience,
and it is advised to bring your headlamp and a handy camera, because there are
certain narrow areas especially the “body language” part.
On the
first part, you have to crawl down an almost 15 ft high rock formation on the
way inside the cave. The only way to get down is thru a rope and rappel down. From
there, you can start exploring the cave all the way to other chambers. Rock
formations is spectacular but you have to be careful since sharp pointed
stalagmites and stalactites were also formed from the cave’s ceiling. The trail
inside becomes tighter and tighter along the way.
 |
| The main entrance to Bayukbok Caves. |
 |
| Team Manalmon, ASSEMBLE! :) |
 |
| Our headlamps light up the trail. |
 |
| You have to climb down at 15 feet high via rope. |
There’s a
portion inside where the rock formations create a sound if you hit it like a
congo drum. This is why it was called “the music room”. From there, you will
also climb a rope ladder going up, which will lead to a tougher and tighter
trail, wherein you have to bend your body just to pass through narrow tunnels.
That is why it was called “the body language” area. You have to
climb steeper trails going up, which leads to the exit of the cave.
 |
| Charmie enjoying the rock formations. |

 |
| Jonel entering the music room. |
 |
| Jhong climbing the rope ladder towards the "Body Language" area. |

Summing up
this experience, Bayukbok Cave will offer you an extreme spelunking experience.
The rate is 8/10 and yet, one of the most fulfilling activities especially for
beginners. This is also the first spelunking experience for the most of us, and
I’m thankful that no one got hurt on the entire adventure.

 |
| Group picture with Kuya Winter and Kuya Michael. |
Shout-out
to the entire group of this climb: Walter, Lyke, Roni, Charmie, Lia, Fran,
Karen, Kate, Tita Mari and especially to my two buddies, Jonel and Jhong. This
is one of the successful climbs we’ve organized so far, and we’re looking
forward for a part two of this climb. (Mt. Gola + Victoria Cave Dayhike).